
Pumpkin Carving: Organized Chaos
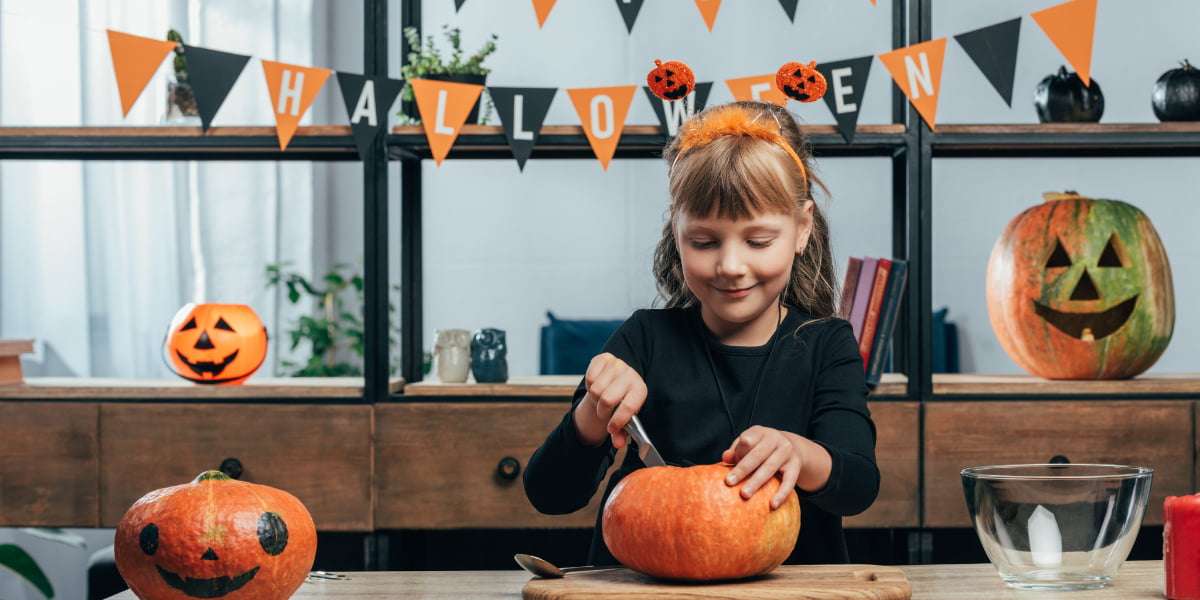
With Halloween just around the corner, numerous individuals eagerly anticipate participating in one of the most highly regarded customs of this time of year: pumpkin carving. The imaginative process of turning a basic orange fruit into a uniquely designed work of art brings immense happiness and anticipation to individuals of all ages. Nevertheless, once the carving process is finished, the practicality of dealing with the messy aftermath becomes apparent.
Cleaning up after pumpkin carving can be a challenging task, as it entails getting rid of gooey pulp, seeds, and small pieces of pumpkin flesh spread around the area where the carving took place. To simplify and expedite the process, there are numerous suggestions and techniques that can be helpful. The Cleaning Ladies is here to provide guidance on the best approaches for pumpkin carving clean-up, including preparing the carving area, utilizing appropriate tools, and managing the mess effectively. By adhering to these recommendations, you can delight in the enjoyment and creativity of pumpkin carving without the worry of a messy aftermath.
Steps to Follow When Getting Ready for Pumpkin Carving
Prior to embarking on your carving festivities, it is crucial to adequately ready oneself to guarantee a seamless and fruitful endeavour. As a primary step, it is advisable to pick a dedicated space where all the pumpkin carving will take place. This can entail a specified table or workbench that offers sufficient room for the carving project. After selecting the ideal carving station, it is equally important to gather all the essential supplies and tools required for cleaning purposes, ensuring that these items are readily available for use. Cleaning supplies may involve a gentle brush, mild soap, and water.
A helpful suggestion to make the clean-up procedure even more convenient is to place newspaper or a safeguarding layer on the surface being used for work. This safeguarding layer will prevent any mess or debris that may be produced during the act of carving. By meticulously getting the carving area ready and organizing the required materials, you can lessen the likelihood of accidents, ensure that the tools are tidy and prepared, and establish a suitable atmosphere for the carving procedure.
Suggestions for Minimizing Mess When Carving Pumpkins
There is no avoiding it, pumpkin carving can be quite messy. Nevertheless, there are several helpful suggestions you can follow to decrease the messiness and simplify the cleaning-up process. It is important to efficiently remove the seeds and pulp from the pumpkin by utilizing a scraper or spoon. The use of appropriate pumpkin carving tools will aid in reducing the mess and ensuring that the pumpkin is properly hollowed out.
Establish a waste management system in close proximity to the carving area. An effortless solution could be to position a receptacle or bag nearby, ensuring that any leftover scraps and waste are gathered. By designating a specific location for disposal, you can effectively contain and confine any potential mess, ultimately preserving the cleanliness and organization of your workspace.
Be sure to occasionally clean the outside of the pumpkin to prevent any residue from building up. When you carve the pumpkin, the pulp and seeds may gather on the pumpkin’s surface, which can make it more difficult to handle and create a mess. However, if you consistently wipe it down with a damp cloth or paper towel, you can keep the pumpkin tidy and easy to work with while carving. These simple actions can greatly minimize the mess and enhance your overall pumpkin carving experience.
Cleaning Your Pumpkin Project
Once you have completed your eerie masterpiece, the cleaning process is still ongoing. After ensuring that your pumpkins are fully completed, it is essential to cautiously eliminate any remaining seeds and pulp that may be clinging to the inside of the pumpkin. This can be achieved by utilizing a spoon or your hands, all the while being mindful of avoiding any damage to the pumpkin’s walls. Upon successfully eliminating the excess seeds and pulp, it is recommended to thoroughly rinse the interior of the pumpkin with water. This step aids in eliminating any lingering pulp and enhances the overall effectiveness of the cleaning process.
When you have finished rinsing the pumpkin, it is important to ensure that it dries completely before moving on. This is necessary to prevent any residual moisture from remaining inside and potentially causing the pumpkin to decay. Once the pumpkin is fully dry, you can take further steps to clean its outer surface by using a slightly damp cloth or sponge. To give your carved pumpkin a longer-lasting freshness, you may want to consider applying a thin layer of petroleum jelly to the cut edges. This will help to seal in the moisture and slow down the process of wilting. By keeping these helpful suggestions in mind, tidying up your carved pumpkin can become effortless.
Taking Care of the Carving Area
Now that your personalized eerie decoration has been tidied up and showcased, it is imperative to tidy up your carving space so as to avoid leaving it resembling a dreadful crime scene. Firstly, properly gather and discard all waste materials. This entails eliminating any remaining pumpkin scraps, utilized tea lights, and any other mess. Appropriate disposal will diminish the possibility of attracting pests and will maintain the area’s cleanliness and safety.
Maintaining cleanliness and preventing the spreading of bacteria or any leftover pumpkin residue is crucial when it comes to cleaning and disinfecting the carving tools. This can be achieved by thoroughly cleansing the tools with soap and warm water, followed by the use of an appropriate disinfectant. In the same manner, it is important to wipe down and sanitize the work surface where the carving takes place. This process helps eliminate any traces of pumpkin juice or germs that might have accumulated throughout the carving process. Utilizing a versatile household cleaner or a mixture of water and vinegar can effectively sanitize the surface. By adhering to these guidelines, we can ensure a tidy and well-organized pumpkin carving area, creating a safe and enjoyable experience for everyone involved.
The Cleaning Ladies wish you a delightfully spooky time this festive season. As we progress through the holidays, please visit us regularly for more helpful tips on cleaning during this time of year, such as holiday wreath ideas.
As usual, it is our pleasure to warmly provide assistance to the residents of Durham Region and we are ready to address any inquiries you may have. Please feel free to reach out to us at any point or submit a request for a quotation on our website to discover the ways in which we can effectively meet your needs.